
Playing darts outdoors is one of the most enjoyable ways to combine skill, fun, and fresh air. Whether you are setting up a casual backyard dart zone or creating a dedicated outdoor gaming area, hanging your dartboard properly is extremely important. A poorly installed dartboard can lead to accidents, broken darts, wall damage, or inconsistent gameplay.
If you’re serious about outdoor darts, you must do it the right way — with correct measurements, proper safety steps, and smart positioning. This guide will walk you through every step, from choosing the perfect location to protecting your walls and improving long-term durability.
Why Outdoor Dartboard Setup Matters
When you play outdoors, the environment becomes a big factor. Wind, rain, sunlight, and uneven surfaces can affect:
Dart accuracy
Board lifespan
Player safety
Overall experience
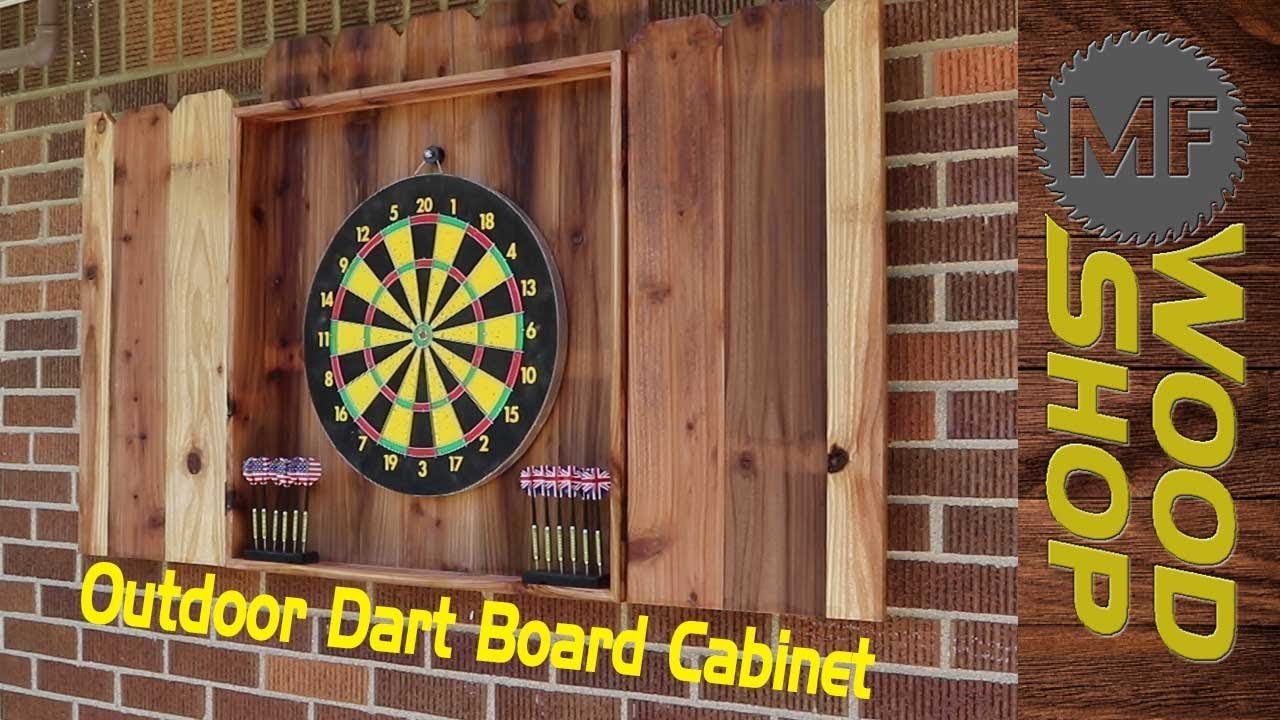
That’s why a strong and secure setup is absolutely essential. Many players even combine this setup with a weatherproof dartboard, especially if the board remains outdoors permanently.
If you are still deciding what type of board works best for your space, you can explore this guide on
best outdoor dartboard for more ideas and options.
Materials You Will Need
Before beginning installation, make sure you have all the basic and optional tools ready:
A dartboard (preferably weather-resistant)
Mounting bracket or hanging kit
Strong screws and wall anchors
Electric drill
Measuring tape
Pencil or marker
Spirit level
Protective backing board (wood, rubber, or cork)
Chalk or floor tape for marking throw line
Having the correct tools in advance saves time and makes the installation much easier.
Choosing the Best Outdoor Location
Selecting the right location for your dartboard is one of the most important steps.
Choose a spot that:
✔️ Has a flat, stable surface
✔️ Is free from windows, fragile objects, or glass
✔️ Has plenty of throwing space (at least 8 feet clear)
✔️ Is away from heavy foot traffic
Never hang a dartboard where people walk through, such as near a door or narrow pathway. A garage exterior wall, garden fence, or wooden shed wall are usually great options.
Also keep in mind: direct sunlight and heavy rain can damage your board over time. If possible, choose a shaded spot or install a small roof cover above it.

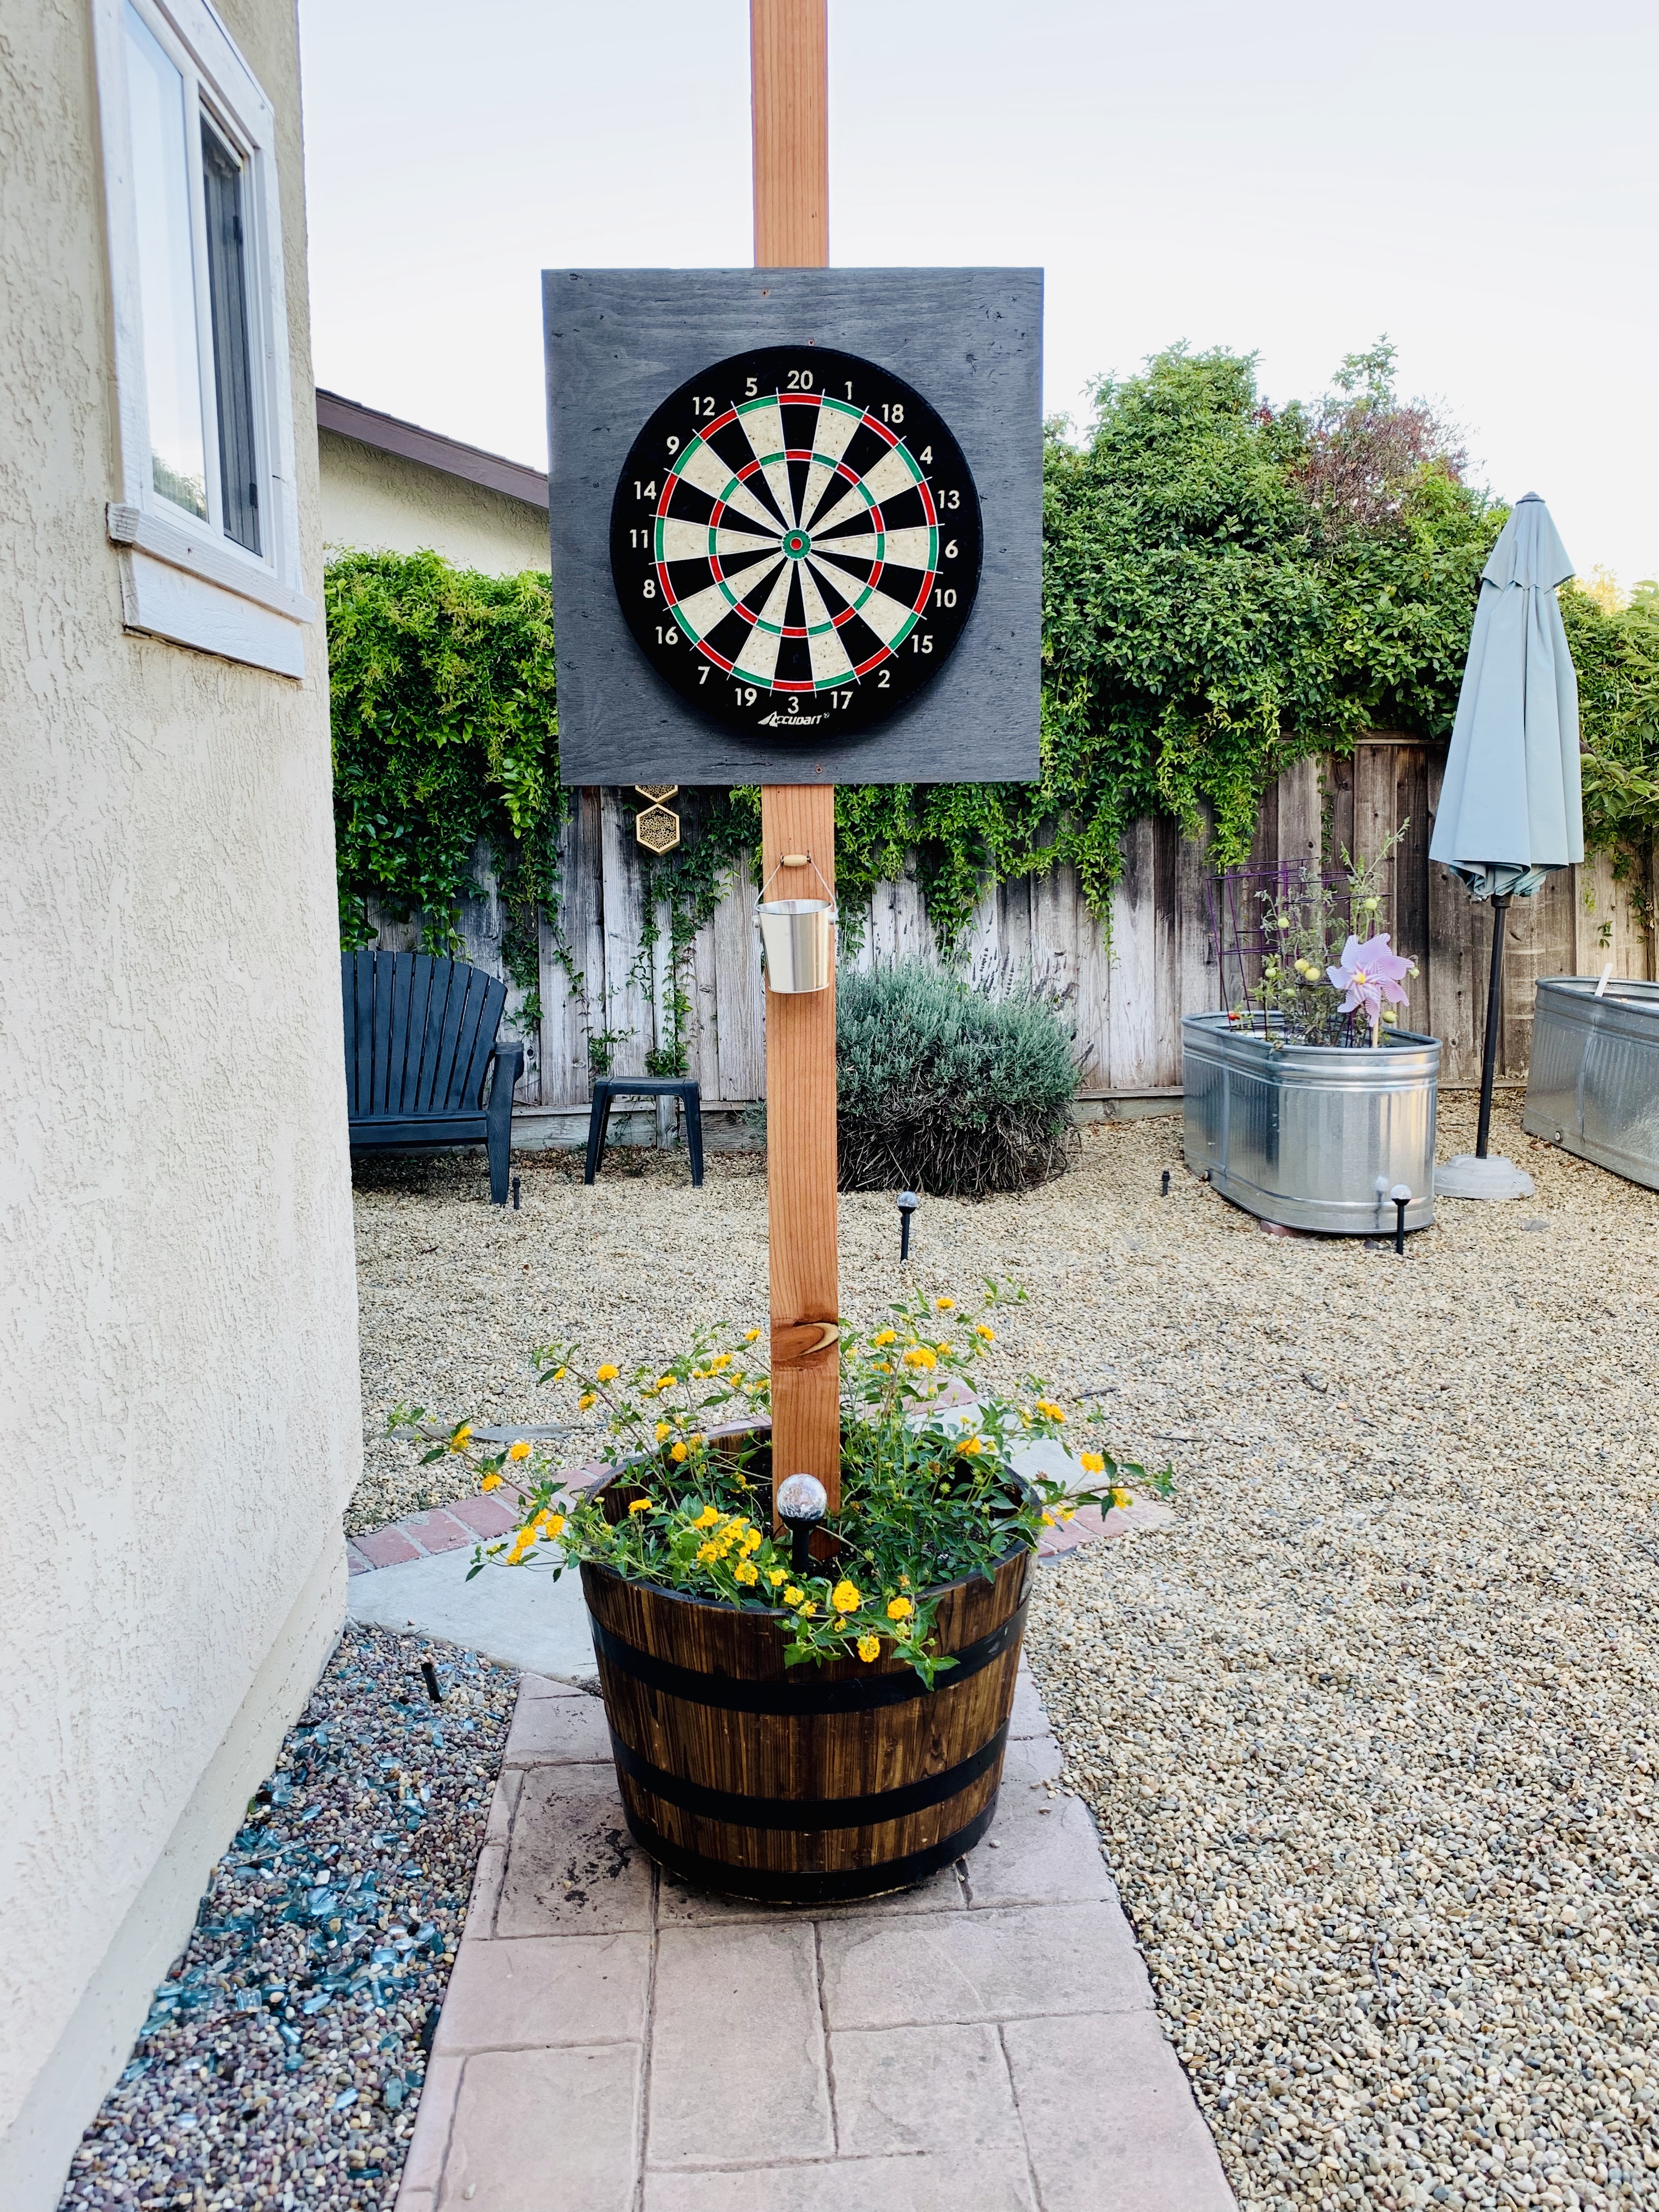
Setting the Correct Height (Very Important)
The official dartboard height is:
🎯 The bullseye must be 5 feet 8 inches (1.73 meters) from the ground.
Use your measuring tape to mark that exact position from the ground up. Make a small pencil mark — that is where the center of your dartboard will be.
This international measurement gives you:
Proper consistency
Accurate official-style practice
More realistic gameplay
Installing the Mounting Bracket
Once you mark the bullseye height, follow these steps:
Place the bracket on the marked area
Use a level to make sure it is perfectly straight
Mark the screw points
Drill pilot holes
Insert wall anchors
Screw the bracket tightly
This bracket is what holds the dartboard, so it must be firm and secure. Test it before hanging the board.
If your wall is weak, use a wooden backing panel first, then mount the bracket onto that.
You can also reduce wall damage by checking this guide on
dartboard wall protector to keep your setup extra safe.
Hanging the Dartboard Properly
Now it’s time to mount the dartboard:
Line up the board’s hanging hole with the bracket
Make sure the bullseye lines up with your original mark
Press it down securely
Use the level again to ensure it is perfectly straight
If the board tilts even slightly, your darts may bounce off more often or miss expected targets.
Measure the Throwing Distance (Oche)
Professional throwing distance is:
📏 7 feet 9.25 inches (2.37 meters)
From the front of the dartboard, measure this distance on the ground and mark the throwing line using tape, chalk, or a small wood strip.
This line is where you must stand while throwing.
If you want to practice with the same accuracy used by professionals, you can learn perfect throwing form from
throw darts like a professional guide.
Add a Protective Backboard
Even experienced players miss the target sometimes. To protect your wall, fence, or shed, you should install a backboard behind the dartboard:
Best materials:
Plywood
Rubber panel
Cork board
Foam backing
This prevents:
✔️ Wall damage
✔️ Broken darts
✔️ Unsafe bounce-backs
For even better protection, many players follow tips from
protect your wall guides for long-term safety.
Test the Entire Setup
Before starting your first full game:
Throw 3–5 darts gently
Check if the board moves
Check if screws are loose
Confirm distance is comfortable
Fix anything that looks unsafe or uneven.
Playing Outdoors: Extra Tips
Since you are outdoors, keep these extra points in mind:
✔️ Don’t play in strong wind
✔️ Dry your darts if wet
✔️ Cover the board when not in use
✔️ Avoid direct rain exposure
If you’re unsure whether your environment is suitable, check tips from
play darts outside for better planning.
Safety Rules You Must Follow
Safety should always come first:
Never stand in front of the board during throws
Only one person should throw at a time
Wait until all darts land before retrieving
Keep kids and pets away
Always check area is clear
Darts are sharp and can cause serious injury if used carelessly.
Final Thoughts
Setting up a dartboard outdoors is simple — but only if you follow the correct steps. When you measure properly, choose a safe location, secure everything firmly, and protect your surroundings, you create the perfect environment for long-lasting enjoyment.
Outdoor darts is not just a game — it’s a skill, a hobby, and sometimes even a serious practice routine. With this guide, you now have everything you need to build a professional-style outdoor dart station in your own space.
🎯 Install it right. Play safely. Enjoy every throw.